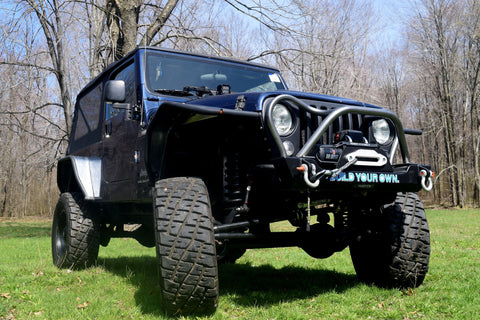
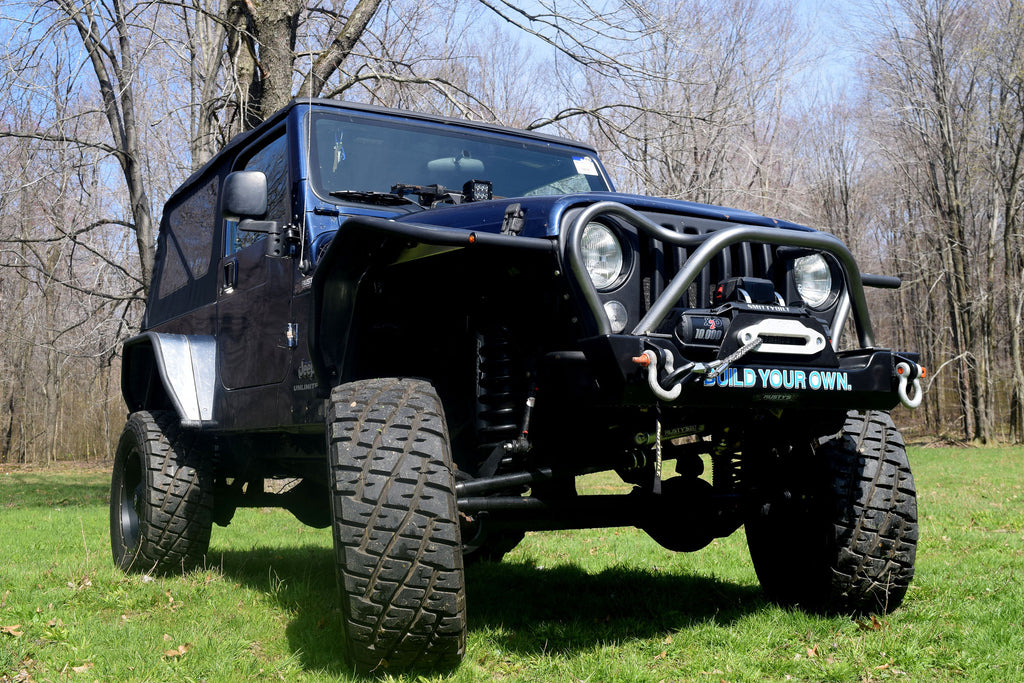
Hi-line Fenders CJ, YJ, TJ, LJ
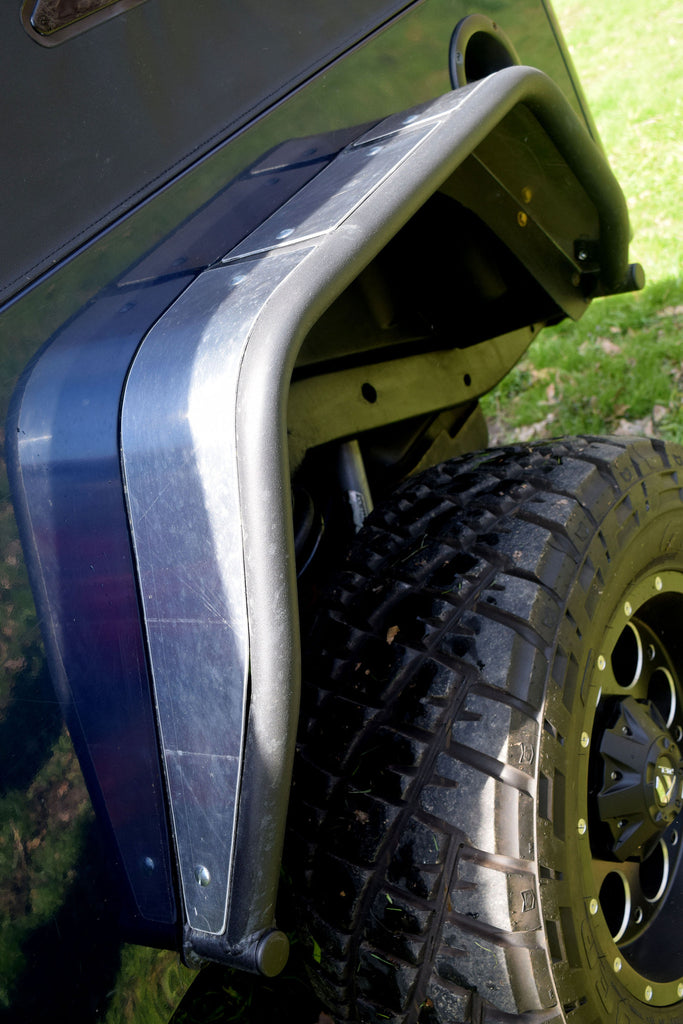
These hi-line fenders will give you more tire clearance, for offroad suspension flex, with less lift.
This is an easier kit to assemble than our regular flared fenders!
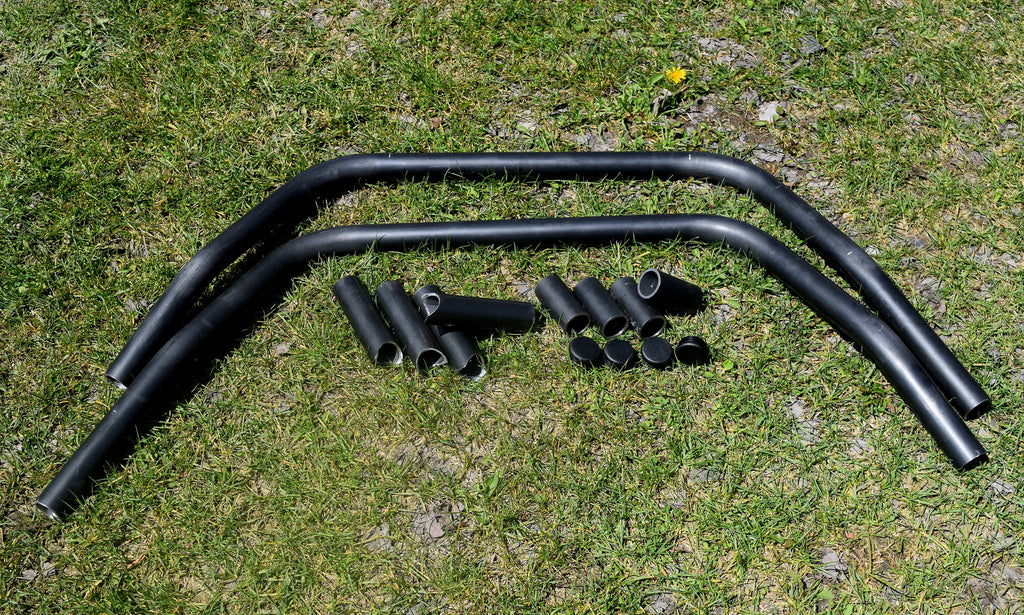
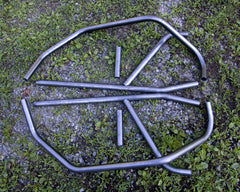
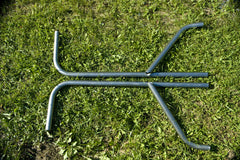
The kit comes with pre-bent tubing; but, you will need to notch the tubing yourself because depending on the desired width of the flare the notches will be at different angles. (which can be done easily with a die grinder with a 1" sandpaper drum) There is a picture on this listing with an example of what comes in this kit. Notice it includes plastic plugs to close up the open ends of tubing.
Save 10% when purchasing the front and rear fenders at the same time!
This kit is made to fit Wranglers but not a JK.
AS ALWAYS FREE SHIPPING!!!
Instructions: Remove the factory fender, and cut the inner fender from the outer fender and reinstall the inner fender. Next, you will need some flat stock. Our preference is to use 1 1/2" wide x 1/4" thick. You will need to cut a piece to same length as the back of the fender where it bolts to the tub and mark and drill the four holes and bolt it to the tub.
You will also need to make another piece of flat stock that bolts to the grill using the three bolts that held the outer fender to the side of the grill. (This piece will need to be slightly bent to match the contour of the grill) Mark and drill the three holes and bolt it in place. You need to supply the flat stock as it isn't included in this kit.
Now you are ready to assemble the tubes.
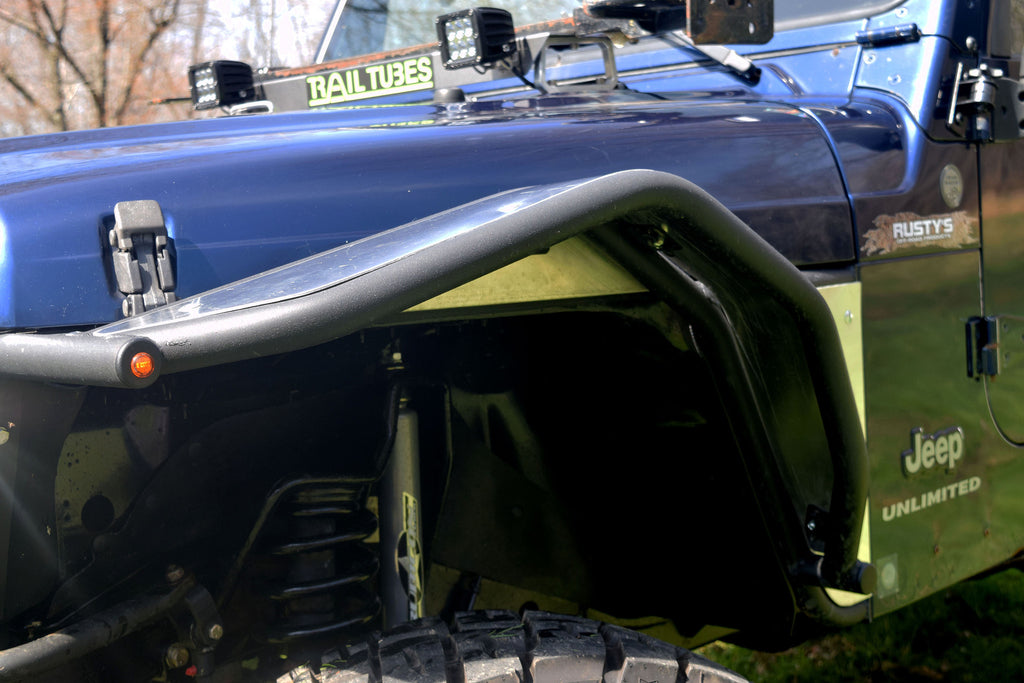
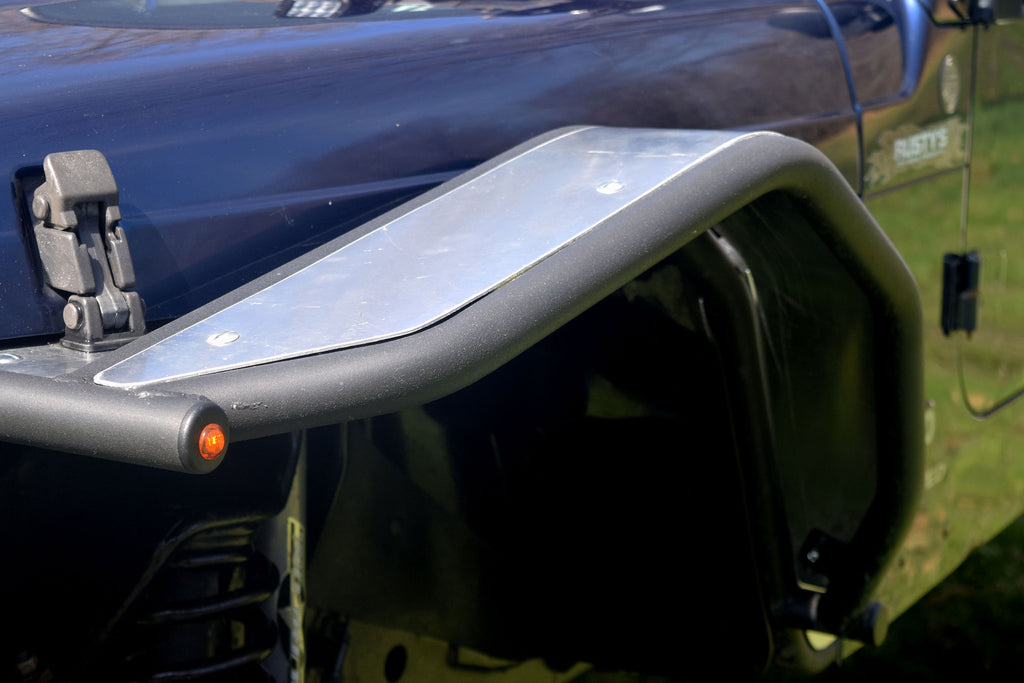
First close the hood before you start so that you can be sure that the fenders does not interfere with the hood. Then tack weld the 9 1/4" straight tube to the flat stock on the side of the grill right below the hood sticking straight out and level.
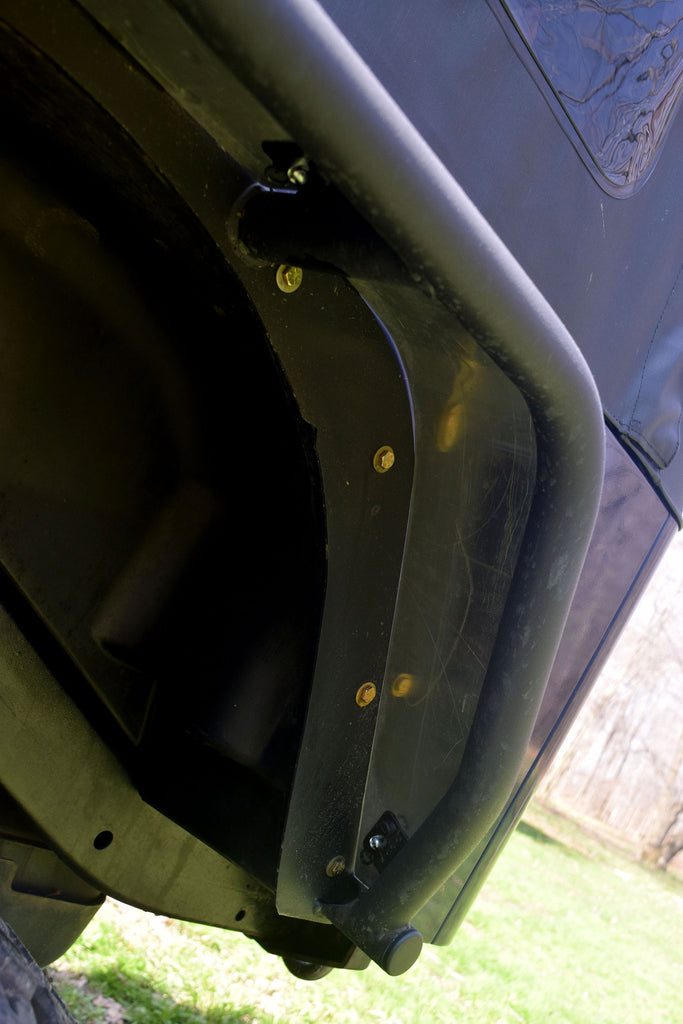
Next take the longest tubes in the kit, (inner arch tubes) (There is a right and left side to these tubes) this tube goes from the bottom of the flat stock on the tub, arches up above the hood and will attach to the first tube. (Allow about 1/2" between this tube and the hood.)
You can now weld the inner fender to this tube (or you can use rubber weather stripping on the cut edge of the inner fender and leave the inner and outer separate)
Locate the 13" notched pieces in the kit. these pieces go from the top of the flat stock on the tub to the long tube you just installed. (tack it in place and be sure that it is parallel with the lower edge of the hood.
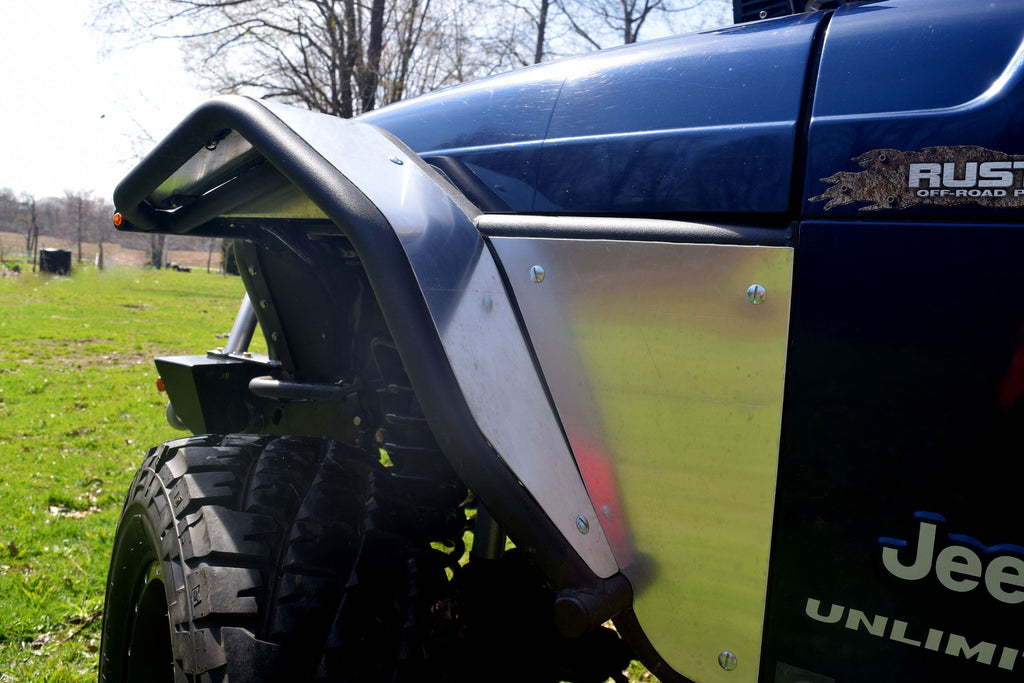
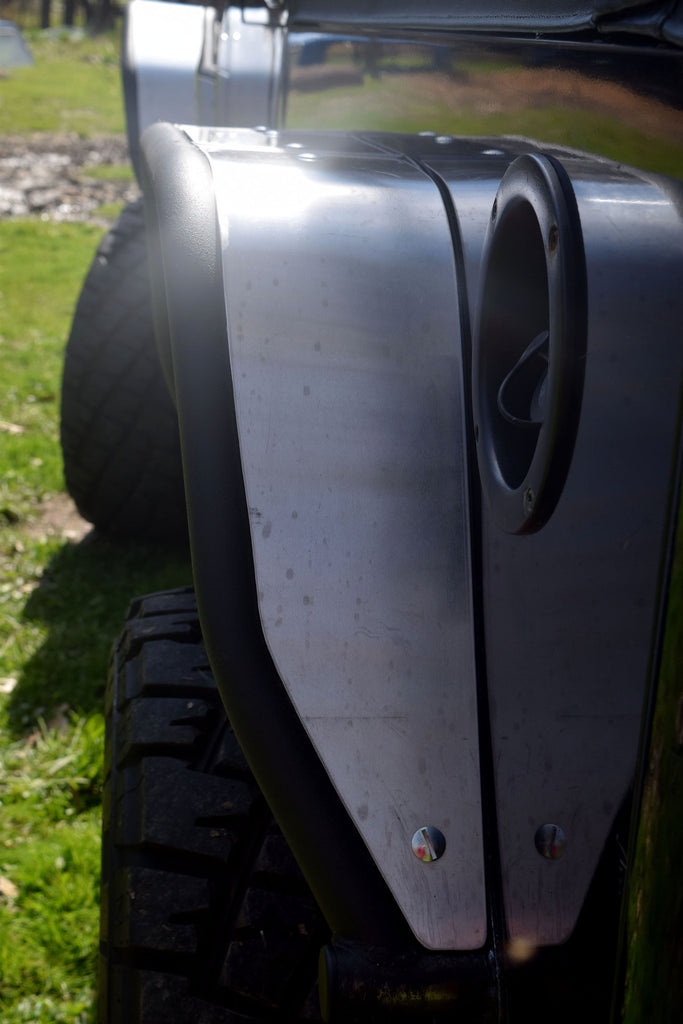
The final four pieces (two per side) are the outer arch tube and lower standoff (3" notched piece) You will need to adjust these pieces according to the desired amount of flare. Be sure not to fully weld these in place until you double check that it is true and level with the inner arch tube.
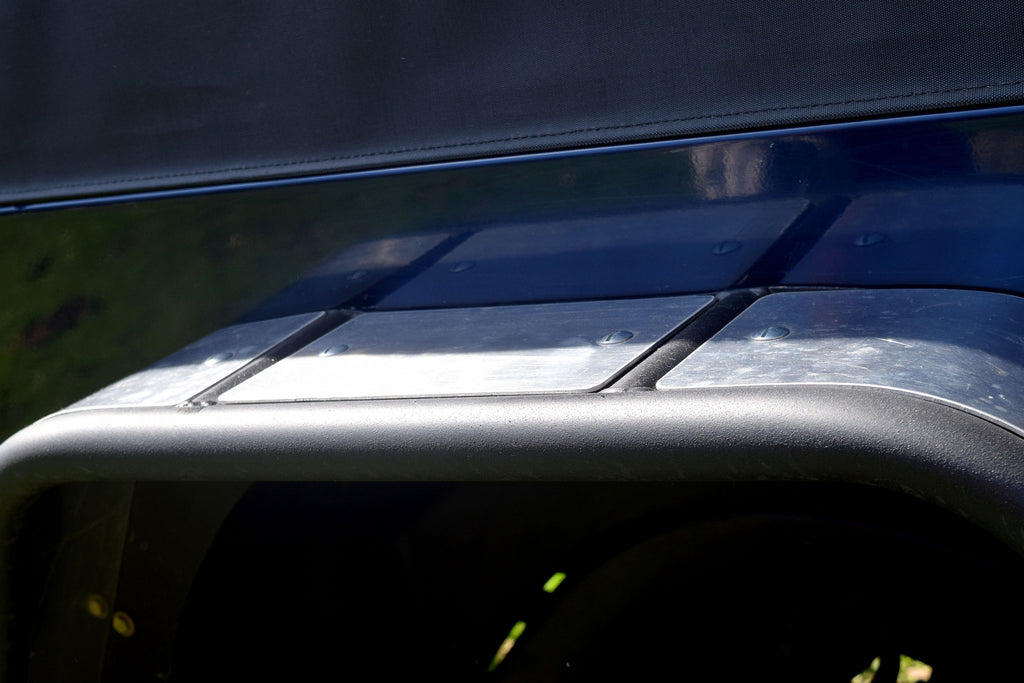
Finally you will need to skin the fenders with thin gauge steel (pic shows aluminum and zeus fasteners) We recommend using cardboard and a marker to make templates that achieve the desired look before cutting into your sheetmetal.